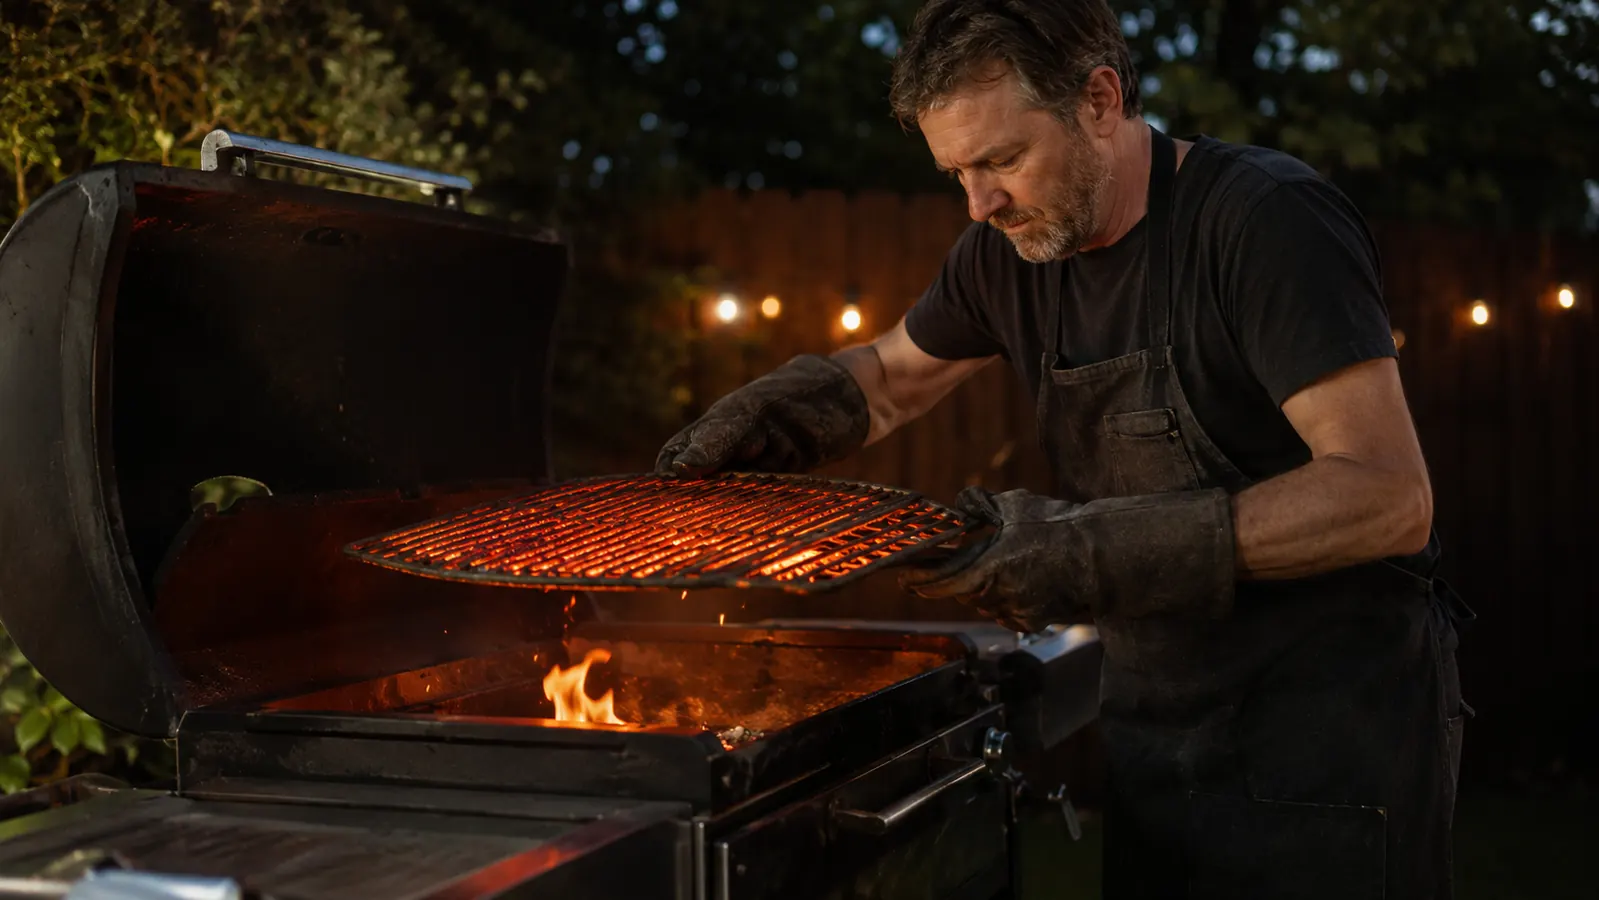
I burned the inside of my wrist moving a charcoal grate on a July afternoon about four years ago. Not a serious injury, but serious enough to make me rethink how I was handling hot grates. I had been doing it the way most backyard grillers do: a folded kitchen towel, a pair of old oven mitts, or just a fast grab-and-hope. None of those work reliably when a cast iron grate is sitting at 500 degrees. That burn was the reason I finally got serious about the right approach, and it is the reason I am writing this guide. If you have been improvising your grate handling, even if you have not been burned yet, this is the method that will keep it that way. The fix that finally worked was a proper pair of heat-resistant gloves, specifically the RAPICCA 932F BBQ gloves, and that is where this guide starts.
Whether you are moving grates to add charcoal, cleaning them mid-cook, repositioning them for a two-zone setup, or pulling a heavy cast iron grate off for the season, there is a safe and repeatable way to do it. The five steps below cover everything from the gear you need to the specific technique for each common grate situation. If you follow these consistently, you will not get burned. I have not since I locked this system in. The whole thing takes less than a minute per grate move when it becomes habit.
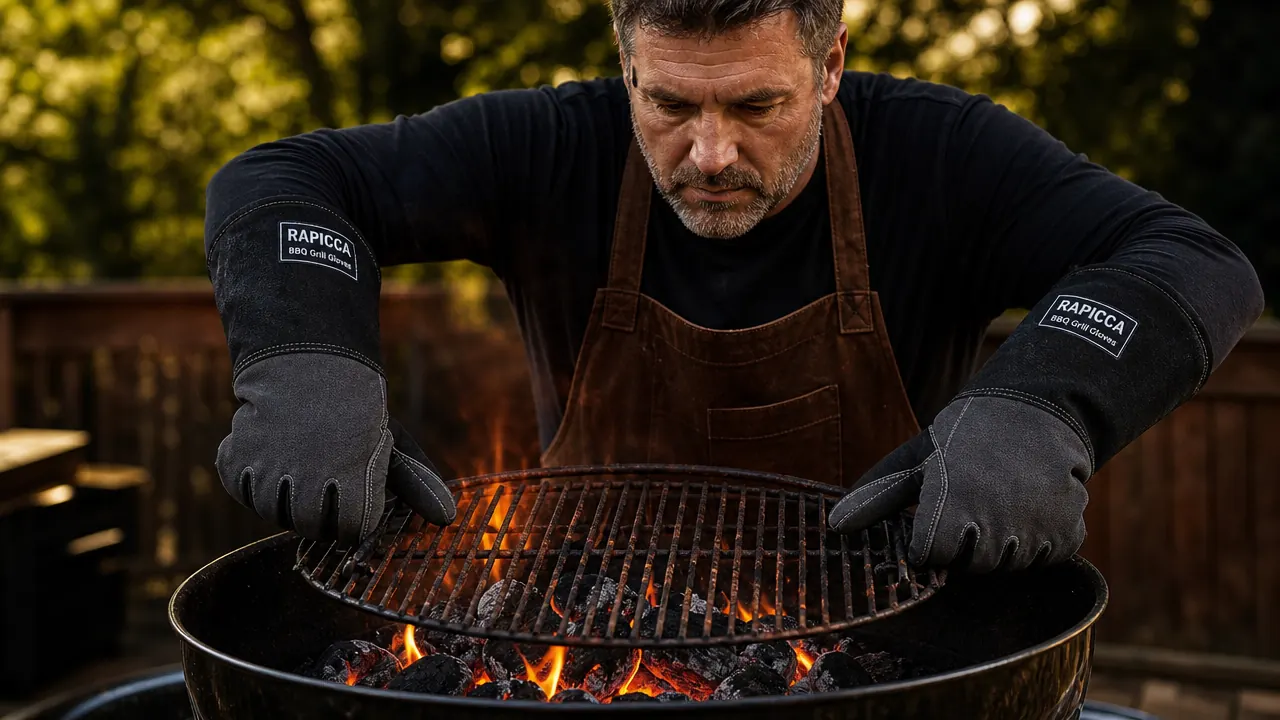
If you only buy one piece of grill safety gear this season, make it a real pair of heat-resistant gloves.
The RAPICCA 932F BBQ Gloves are rated to 932 degrees Fahrenheit, have an oil-resistant waterproof silicone coating, and fit well enough to actually grip a grate rather than fumble with it. I have used mine on cast iron, stainless, and porcelain-coated grates across every session this season. Over 20,000 five-star reviews on Amazon.
Amazon Check Today's Price on Amazon →Step 1: Get the Right Heat Protection Before You Touch Anything
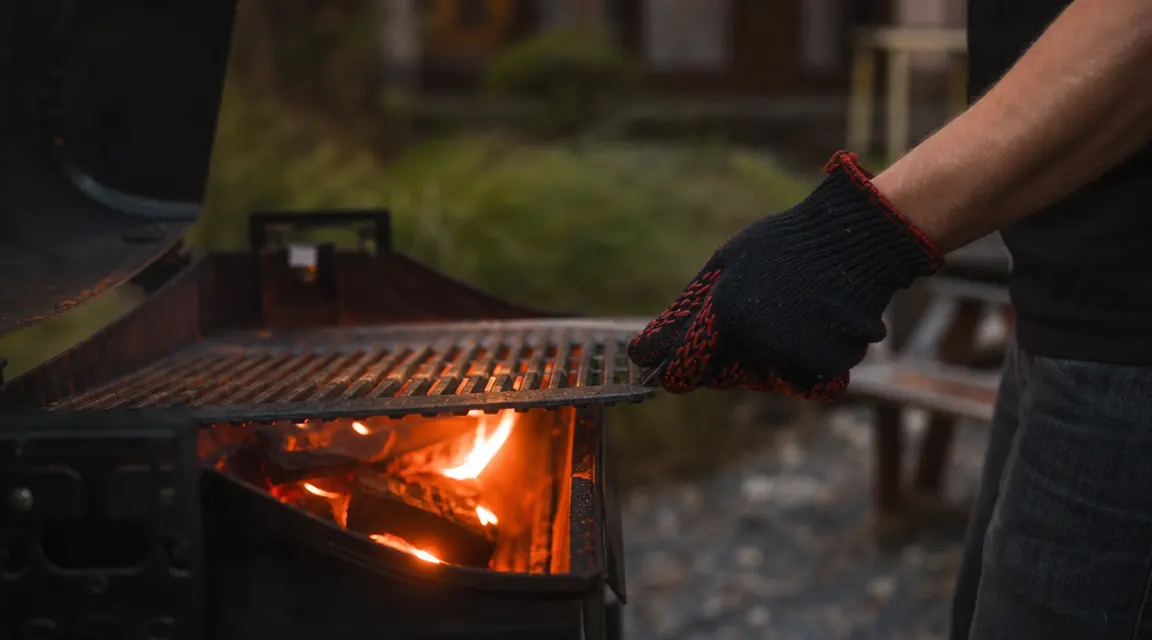
The single biggest mistake I see people make is improvising their hand protection. Folded towels absorb heat in seconds. Thin oven mitts designed for a 450-degree oven are not built for a grate that has been sitting over a 600-degree charcoal fire. Silicone pot holders slide off grate bars and give you no real grip. If you are using any of these, you are gambling every single time you reach in.
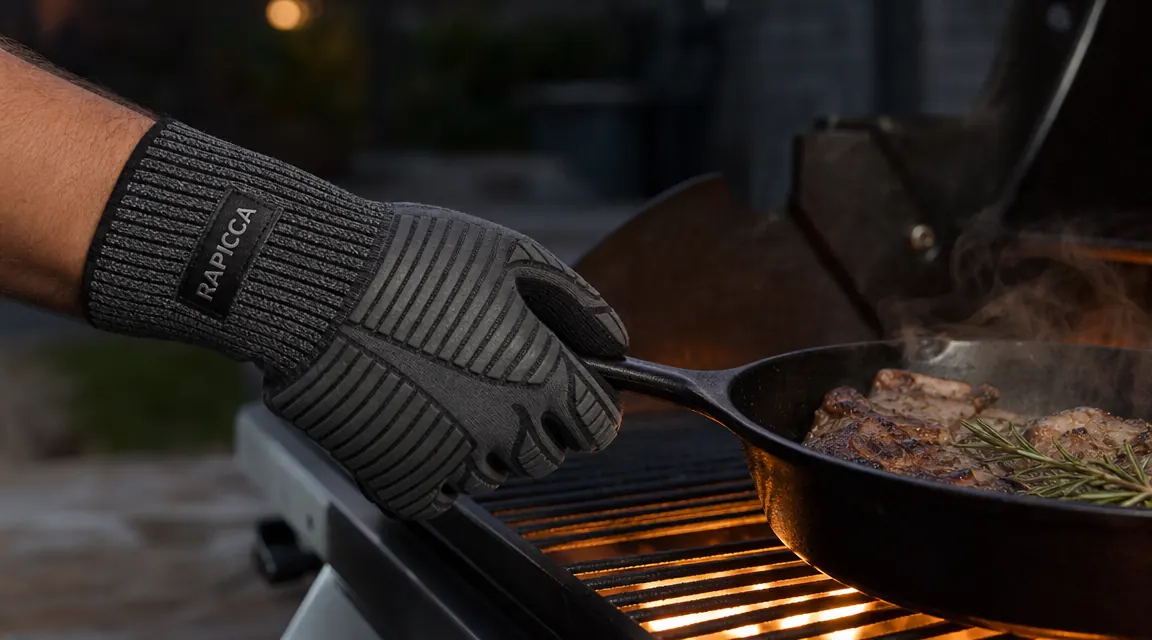
What you actually need is a glove rated to at least 800 degrees Fahrenheit for direct contact, with a heat-insulating inner layer and a grip surface on the palm and fingers. The RAPICCA 932F gloves check all three boxes. The outer layer is a silicone-reinforced weave that blocks radiant heat, and the inner lining is thick enough that you can hold a 500-degree grate for the 10 to 15 seconds it takes to reposition it without feeling pain. That window matters. Cast iron grates are heavy, and you need time to find your grip and set the grate down properly. You cannot rush the process with bad protection because your hands will tell you to let go before the job is done.
One note on fit: gloves that are too large will slip on a hot grate, which is almost worse than no glove at all. Size down if you are between sizes. The RAPICCA pair comes in regular and large, and I found that regular fits my medium-sized hands snugly enough to keep full finger control when gripping the grate bars. If you have larger hands, the large fits well but keep the cuff snug at the wrist so it does not ride up toward your forearm during a lift.
Step 2: Assess the Grate Type and Weight Before You Lift
Not all grates handle the same. Cast iron grates are heavy, typically 10 to 18 pounds for a full grate on a mid-size kettle or barrel grill, and they retain heat longer than stainless. Porcelain-coated grates are lighter but fragile at the edges, and the coating chips if you grip a bar too hard or drop it on a hard surface. Stainless steel grates are the most forgiving, lighter than cast iron and less likely to transfer radiant heat through a good glove during a quick move.
Before you touch any grate, do a quick visual check. Is it a full grate or a hinged section? A lot of kettle grills have a hinged center section specifically so you can add charcoal without lifting the whole grate. Use that hinge instead of pulling the full grate when possible. It cuts the weight and the exposure time in half. If you are on a gas grill, note where the flavor bars or heat deflectors sit below the grate, because you will need to clear them when you tilt the grate to remove it. Rushing a gas grill grate removal and catching the bars on the heat tent brackets below is one of the most common ways people fumble and drop a hot grate on their deck.
Step 3: Use a Two-Point Grip and Move Deliberately, Not Fast
Once your gloves are on and you have assessed the grate, grip it at two points on opposite sides, not both hands on the same side. A two-point grip distributes the weight evenly and prevents the grate from tipping or torquing out of your hands. For round kettle grates, grip at the 9 o'clock and 3 o'clock positions. For rectangular grates on gas grills, grip at the front center bar and the back center bar.
Move slowly and deliberately. I know the instinct when something is hot is to move faster, but a fast move with a heavy, hot grate is where accidents happen. You need to clear the lip of the firebox cleanly, set the grate down on a stable surface, and not wobble it. I use a pair of old bricks on my deck as a grate rest. They can take the heat, they do not tip, and they keep the grate off the wood deck surface where it could scorch or warp boards. A concrete paver works just as well. Whatever you use, have it in position before you lift, so you are not standing there holding a 500-degree grate looking for somewhere to set it down.
If you need to adjust a grate while food is already on it, slide it rather than lifting it. Most grates have enough clearance on the grill rim to slide a few inches in either direction. Use one gloved hand to push one end, and the grate will shift without you needing to lift it fully off the grill. This is the safest way to move a grate mid-cook without disturbing the food.
Step 4: Clean the Grate While It Is Still Hot, the Right Way
Cleaning a grate while it is still hot is actually safer and more effective than waiting for it to cool, as long as you have the right protection. Hot grates release residue much more easily than cold ones, and you avoid the sticking and scraping that comes from dried-on grease on a cooled grate. The best time to clean is immediately after you pull the last food item off, while the grate is still radiating heat and the residue is still loose and soft.
Wear your gloves for this step too. A coil spring brush with a stainless loop head works best on both cast iron and stainless grates. Scrub with firm, short strokes along the bar direction, not across the bars, to avoid catching the brush head. If you are still using a wire-bristle brush, inspect it before every session and replace it immediately if any wires are bent loose or missing. A stray wire embedded in food is a trip to urgent care. I switched to a coil-style brush two years ago and have had zero bristle issues since.
After brushing, use a folded paper towel held in your gloved hand to wipe the grate down with a thin coat of high-smoke-point oil: vegetable, canola, or grapeseed all work. This step seasons the grate, protects it from rust between cooks, and keeps food from sticking on the next session. Your glove makes this step safe to do while the grate is still at 300 to 400 degrees, which is the ideal temperature for the oil to bond to the metal surface rather than just pooling and burning off.
Step 5: Store and Cool Grates Correctly to Protect Your Hands Next Time
How you store your grate after a cook affects how safely you can handle it at the start of the next session. A grate left on the grill with the lid closed after cooking will still be at 200 degrees or higher 30 minutes later. If you come back to the grill the next day and reach in without thinking, you can burn yourself on a grate that sat closed all night in summer heat and never fully cooled down. I now touch the lid with one knuckle before every grill session to check for residual heat. If the lid is warm, the gloves go on before I open it.
For seasonal storage, cast iron grates should come off the grill entirely and be stored inside during winter months in humid climates. Leaving cast iron outside in a covered grill through a wet winter causes surface rust that you will spend 20 minutes scrubbing off in the spring. Stainless grates are fine outdoors under a quality grill cover, but check for surface corrosion before your first cook of the season. A quick brush and re-oil at the start of each grilling season takes five minutes and prevents most grate-handling problems before they ever start.
What Else Helps Beyond the Gloves
A good pair of heat-resistant gloves is the foundation, but a few other tools round out a complete safe grate-handling setup. Long-handled tongs, at least 16 inches, let you adjust food placement and nudge grate sections without leaning close to the heat. A grill hook tool, which is a simple L-shaped metal bar that drops into a grate slot and lifts it, takes weight off your hands for heavy cast iron grates and costs about five dollars at any hardware or home improvement store. If you cook on a kamado grill, the dome opens away from the cooking surface and the firebox is deeper than a standard kettle, so you may also want a charcoal basket tool to manage the fire without reaching into the cooking chamber. A good set of long-handled BBQ tools from a quality accessory set handles most of these needs in one purchase, and a quality stainless set will outlast every cheap set you have ever owned.
Lighting also matters more than most grillers think. I added a magnetic LED work light to the side of my grill a couple of years ago, and I click it on for every evening or early morning cook. Working blind in low light around a hot grate is how you misjudge distances, miss the brick rests, and grab somewhere you should not. A good work light costs less than the RAPICCA gloves and probably prevents as many injuries as the gloves themselves. Keep it clipped to the grill, not stored in the garage where you will forget it half the time. Good habits are only good if they are actually easy to follow.
The four years since I stopped improvising my hand protection have been completely burn-free. One piece of real gear and a repeatable five-step method is all it takes to make that your reality too.
Done improvising with folded towels? Here is the glove that changed my grate-handling routine.
The RAPICCA 932F BBQ Gloves are the pair I reach for every weekend. Rated to 932 degrees, waterproof, oil-resistant, and grippy enough to handle a heavy cast iron grate without fumbling. With over 20,000 reviews on Amazon, they are the most trusted grill glove in this price range. Check the current price and see why so many pitmasters keep a pair within reach.
Amazon Check Today's Price on Amazon →